Riffs & Grooves For The Blues Guitarist
INTRODUCTION
Blues is one of the most popular forms of music, specifically for guitar players and I imagine that is what has brought you here today. There are many tutorials on the blues for things such as scales and licks, but there is more to the puzzle than just lead playing.
What really makes or breaks a good blues, or other genres for that matter, is the groove. Guitar music is very riff oriented and a cool riff is even better when you have a killer groove.
In this course we will be going over a variety of groovy riffs to make your blues playing, as well as other genres, next level and as well some lead guitar concepts to accompany them.
LESSON 1
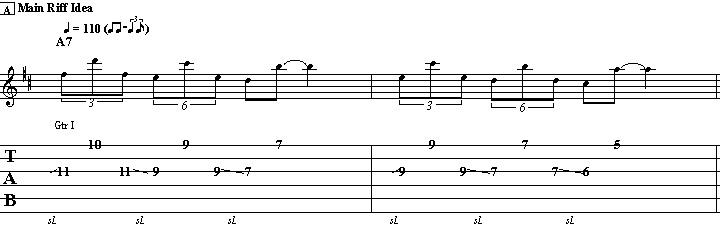
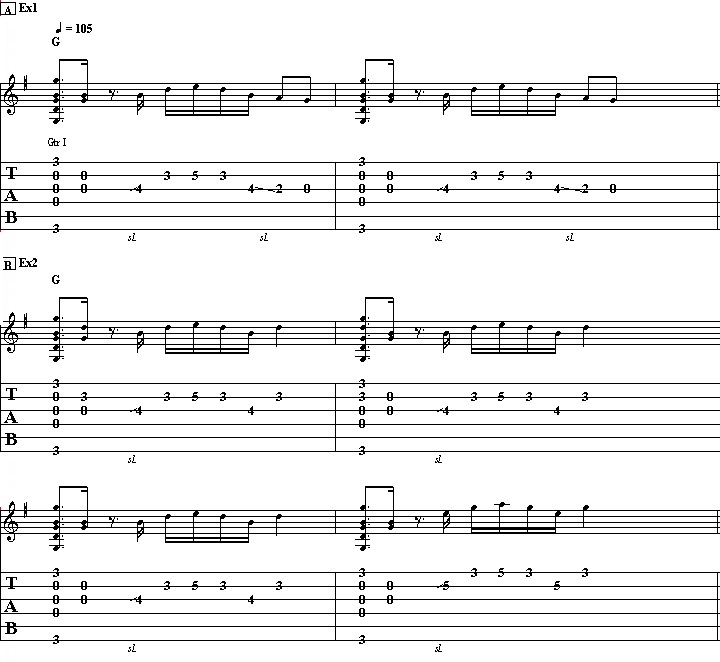
In this first we will be going over a riffing idea for a two chord progression. We will be covering counting rhythms, which is important for getting into a groove. Using alternate pickup notes sounds pro and is easier than you might think.
You will love how it sounds when you start combining pentatonic licks with the chords in the progression and use single notes to create powerful melodies within the chords. The key is keeping the licks short and keep the rhythm going.
LESSON 2
So now here in the second clip we will take the concepts we worked on in the first clip and try them in different positions on the fretboard.
This time we will be exploring the use of the Mixolydian scale for our riffing and licks and how to choose the best length of a riff and changing it up when it starts to get stale and how to improvise on the fly and then just repeat the best ones.
You are going to reap the benefits when you start working with this cool riff exercise that starts on each degree of the scale and then resolving it. This works great in the key of A.

LESSON 3
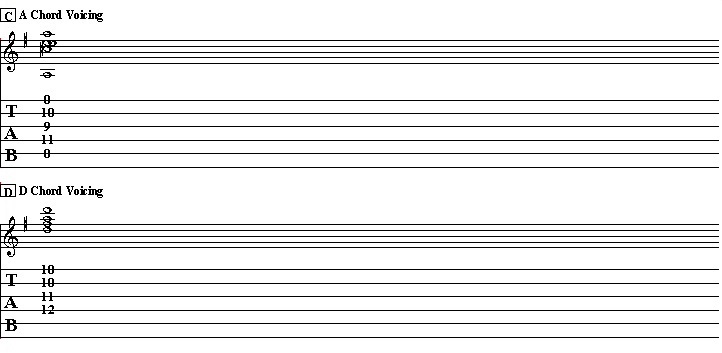
One of the best ways to learn how to get into a solid groove is to take a page from Jazz and get Comping your chords. I will demonstrate this by comping chords and then adding in a melody line and/or a bassline into the progression. This works with full chords as well as Dyads.
LESSON 4
Now we will be moving to the key of B and this time we will attack a triplet rhythm. You will love the versatility of taking a simple single measure pattern and making it into a two measure pattern; don’t worry, I will show you just how it’s done.
Next we will be shifting up to the key of C and I will demonstrate how to resolve these riffs. We will kick it up another notch and introduce the Dorian mode into our riffing. The I-IV progression works great for this and we simply play the rhythm over the one chord and licks over the four chord.
This really comes together when you just do the chords first and then listen to where the licks should go. We will experiment with starting the licks on different beats to make it line up how you want it to the chords.
Your grooves will really come to life when you start using the “chicka” technique, which is basically a muted strum and it is easier than you probably think.
LESSON 5
We have made it halfway through and now we are changing keys again. This time we are in the key of E and I have a sweet E7 to E#9 riff that you will love.
We are kicking it up a notch on our alternating basslines and will be incorporating them into the strum itself.
We will be going over different voicings and inversions of the chords and how to use distortion to really make the grooves pop.
LESSON 6
Now let’s check out another two bar pattern and for this we will be going back to the key of A again. This progression alternates between Asus2 and A major.
The prozone is insight now that we will be playing these riffs and grooves in different positions. The secret sauce here will keeping the same rhythm, but changing up the melody notes as you go along. We will check it out using other two chord progressions such as A minor to G and even using power chords A5 to G5.
LESSON 7
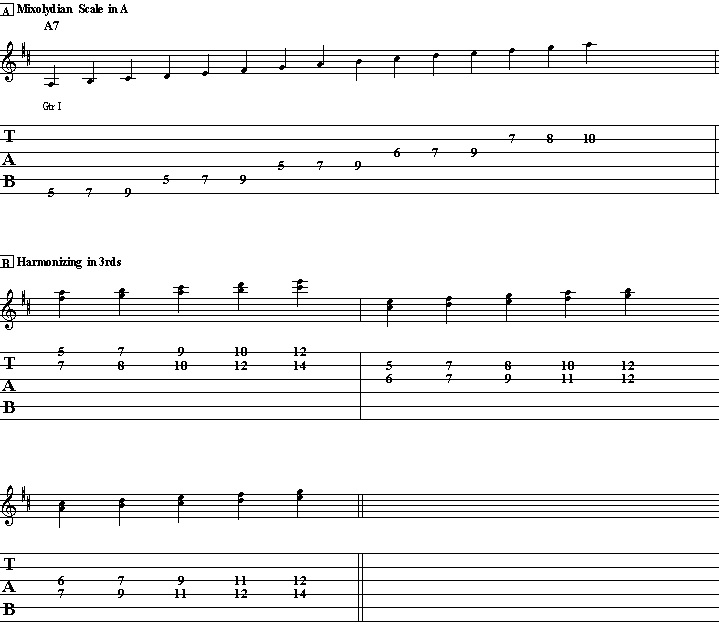
You will think that you have arrived at musical bliss when you start using these harmonized scales to get your melodies. I am talking more about the modes and this time we will be diving deep into using Mixolydian right along with your tried and true minor pentatonic scales. .
Your melodies are going to be as sweet as grandma’s apple pie when you start using Dyads to create harmonized melodies. I will demonstrate how to do it on all pairs of strings and we will be using intervals of thirds.
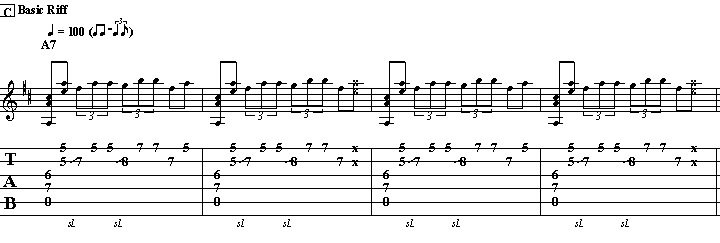
LESSON 8
Now here in lesson eight we are continuing with harmonizing a melody with Dyads. This time we will be looking at using the interval of fourths and how to combine them with the thirds we already have looked at. Fourths give you that classic suspended sound that was used heavily by Chuck Berry.
LESSON 9
We are on lesson nine now and in the home stretch. This time we are going to continue on our deep dive into dyads and doublestops and this time it's all about the interval of fifths.
At this point we can really hear the difference between the different intervals and this will help us to decide which ones work best in a particular situation.
Pedaling the open A string while playing these double stops on the G and B strings has that cool country blues vibe to it.
LESSON 10
We made my friend to the final lesson. This time we are going to look at the interval of sixths for our dyads and doublestops. This is a great sounding interval for creating harmony and is unique because we will be skipping over strings to please these ones. Think Brown Eyed Girl for the sound.
This interval works great with chromatic passages and gives it that classic turnaround sound that we all know and love from the blues.
The final pro tip will be to add in another string and note to get that classic triad sound in your riffs.
