Hey, how’s it going this is Darrin Goodman with Guitar Control, I want to show you a cool acoustic song by Rascal Flatts called “What Hurts the Most”.
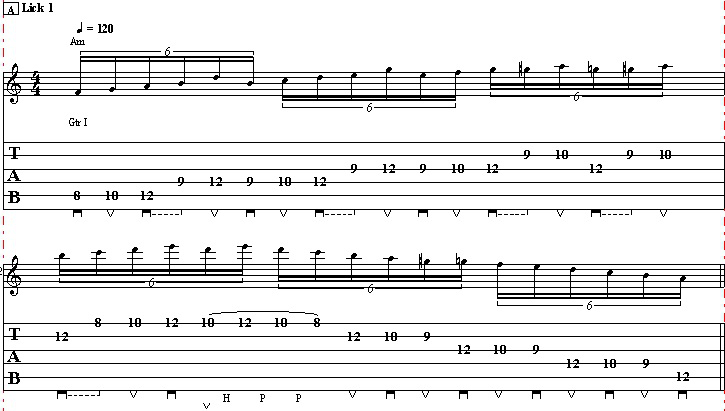
Click on the Tabs button to follow the chords and tabs.
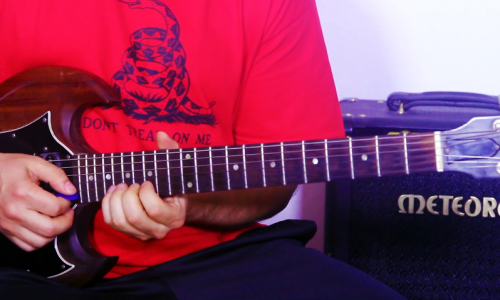
For this we will be using a capo on the 1st fret in the same key. So let’s get a close-up and take a look at this, first let’s take a look at the chords that we’re going to use this first chord that we’re going to look at here is an E minor 7 and 4 this will be first finger on the 2nd fret of the 4th string and third finger on the 3rd fret of the 2nd string in this particular we’re going 6, 4, 3, 2, then the next chord is D suspended 2. So don’t just leave your third finger where it is and move your first finger from the 4th string up to the 3rd string and then see at 9:00 so again we’re going to leave our ring finger where it is and we’re going to move our first finger back to the 4th string and our second finger to the 3rd fret of the 5th string.
When I’m saying the frets it is in reference to the capo of Capo’s on the 1st fret, so when I say the 1st fret technically the 2nd fret and so on and so forth. The first thing you’re going to do is you don’t want to place your third finger on to that 3rd fret of the 2nd string just leave it there and it’s got this little opening riff we got the 5th string open and then do a hammer-on to the 2nd fret with your first finger and then a hammer-on to the 3rd fret with your second finger and then back to the 2nd fret then the 5th string open and then the 3rd fret of the 6th string with your second finger and we’re going to give it just a slight bend just a quarter of a step and then that leads us on a drop into that lick then you go back and put your first finger down to the 2nd fret of the 4th string and follow along with the tabs just if you if you put your fingers in the shape of the chord and then follow the pick, the strings reading from left to right so in this case it’s a 6, 4, 3, 2, then we move our index finger up 4 D suspended for pick strings 4, 3, 2, 1, then we move our index finger back to the 4th string drop our second finger to the 3rd fret of the 5th string and 5, 4, 3, 2, C at 9, and then it simply repeats.
The first part of the verse is that same riff that we just did for the intro and then from there we go to the E minor 7 and it kind of picks up a little bit like the pre chorus so we’re on A minor 7, 6, 4, 3, 2, 4, 3, then we move up for Dsus4 4, 3, 2, 1, 3, then to C at 9, 5, 4, 3, 2, and then you’re going to take your first and second finger the way you’ve got them and you’re just going to move that up to the 5th and 4th fret so you’re on the 5th fret of the 5th string and the 4th fret of the 4th string and just pick strings 5, 4, 3, and then back to E minor 7, D suspended 2 see at 9:00 and then back up to the 5th fret again back to C at nine.
On that part right there we’re on the E minor 7 we pick 4, 3, 4, 2, and then we hit the 4th and 3rd string together twice and then just the 4th string 3, 2, and then to the D suspended 2 see at 9:00. Now it goes into this, where it goes into the chorus, so it’s like a strumming part so this part we’re moving up here when we transition into that from C at 9, and then moving into the chorus we start on E minor to D, C at 9, G, D, D suspended 2, and then that repeats, just goes back to the E minor again.
For the strumming pattern on the chorus, if you’re if you’re looking at the at the transcription it’s all tabbed out as far as the timing goes and stuff but this is really a song that you really kind of you want to feel how that rhythm is going rather than trying to count it because it’s it just going to be its lot easier that way so again that chorus and goes back into that same riff again and then you can just follow along with the parts on the transcription and listen to the song and you can hear the formula verse-chorus and how it goes.
I hope you enjoyed that and you got something out of it this is a fairly easy song it’s a good sounding song, I really like that that riff at the beginning of it so be sure to subscribe on our YouTube Channel and we’ll see you in our next video lessons, thanks for watching.
[ninja-popup ID=715]


