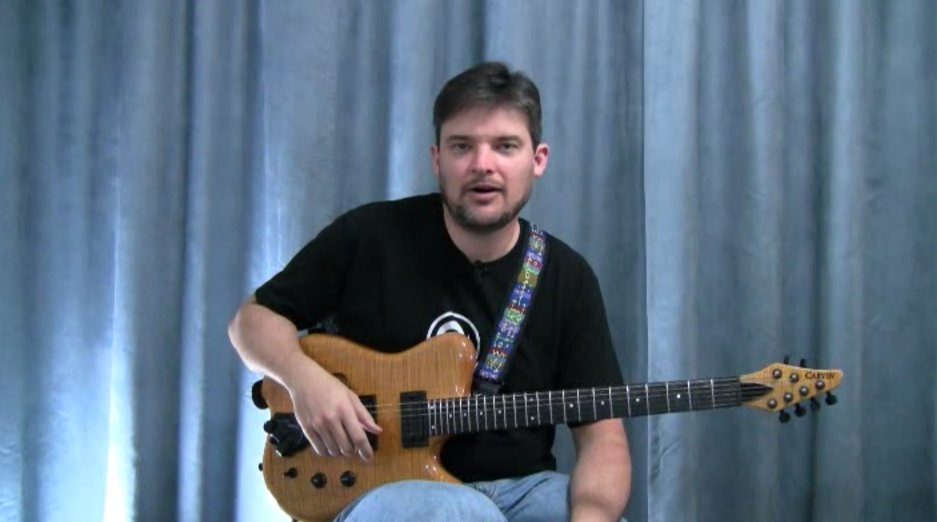
Another preview of Lily Afshar’s soon to be released DVD course:
“Classical Guitar Secrets”.
This time I want to show you a sample
of her teaching style.
Next time I’ll show you more great
performances and playing from Lily,
and pieces that you’ll learn inside
the course.
Keep checking back here on the blog and
in your emails.
Post a comment! GO!
The best way to hold your hand is to have a straight
line here on your wrist. For example, notice that I
don’t deviate my wrist. This isn’t good because
muscles don’t work well at a corner and this causes
a lot of tension for people who hold their hands this
way. You want it to be completely straight like this.
In order to decide how much arch you should have in
your right hand, make a fist like this, put it on the
guitar and then put your fingers on the first four strings.
This will determine the arch on your right hand.
You don’t want to have too much arch or too little.
We are always in the middle. And in classical guitar,
the word mid-range is very important for the right hand
because everything is done in the middle. Not this way;
not that way, but in the middle.
Another thing that you need to know is about tilt.
How much to be this way or that way. The right hand in
classical guitar is really important. We want it to work
very efficiently and the best right hand is the one that
doesn’t move very much. You can play really fast, very
rapidly, and when you watch, you can’t tell what’s going
on because it’s working so fast.
How do we get fast and accurate and clean on the classical
guitar? We use the planting or the preparation technique.
Let me explain what that means. That means you have to put
your finger on the string before you pluck. And once the
finger is there, of course you’re not going to miss it
and you’re going to get the best tone because you put
it in the right place between flesh and nail on the string.
Let me show you how I would plant with the fingers I and M,
index and middle. For example, here’s the open first string.
I put I there on the string and quickly I bring M out and
put it, plant it, on the string. So it’s like this…
I, M; I, M. So instead of going this way with long, big
movements, I am using very small movements. Later on, this
flat sound goes away and you will be able to play this way.
But the finger still will move very minimally.
Let me now teach you the left hand that goes with this exercise.
Do this very slowly at first. Open G, we prepare M, then I put
one down. I’ve prepared I automatically and I put two down.
I’ve prepared M. Now I put three down. I’ve prepared I.
Now I put four down. Notice my M is ready. Now I’m going to
prepare my left hand.
From where four is, which is located on the note B, fourth fret,
I’m going to come to the fifth fret with my first finger and
continue again, one, two, three, four. Extreme crossing of
the right hand is important because, how do we go, for example,
from a fifth string to the second string? We can’t just get our
finger to get there, but we have to move our arm or this way or
this way to go back and forth between the strings. For example,
play… And then come down to the second string and go back.
We all have a muscle here that we can maneuver on. For example,
you’ll feel it here. You can go back and forth on this muscle
or you can sometimes pull back, if you need to, to go from one
string to the other. Sometimes we even use our wrist to do
some follow — to go from the first string to the sixth string,
depending on the passage of a piece.
Basically, there are three forms of string crossing. This can be —
once you learn the fingering for this scale you can put that
second finger anywhere on the fifth string and follow that
fingering and you can play the scale automatically.
Because we start on a note C, this is a C major scale.
The fingering is two-four; one-two-four; one-three.
Now, this has brought us to the note B, which in the
scale of C major is the 7th degree. From B we need to
go to a C. So as I’m putting my fourth finger here and
finishing the scale, this will be a one-octave scale
if I do this.
Now, I want to play a two octave scale. I want to go here,
to this other C. So because of that, I shift here to the
second finger again, just like that. Again, I’m with two
on the note C, just like I was here in the beginning.
So I have two-four; one-two-four; one-three, again,
I have two-four. In order to maintain the next one-two-four
pattern, I will squeeze one fret forward. I will come here
to this fifth fret.
Normally, my hand will cover four frets, but by squeezing
my hand together, I come here to the fifth fret. So now I
do one-two-four; one-three and then I add a last four in
order to play the C. The whole thing will be really smooth.
Watch the right hand now. So, just remember that.
I have 18 different rhythms that you can practice these
scales with and get really good at them.
