How To Play a Groovy Jazzy Chord Progression – Jazz Guitar Lesson
Hey, this is Matias Rengel with Guitar Control, today I’ll be teaching this really cool group it’s a little bit jazzy and combines a lot of chords in different rhythms.
[contentwall]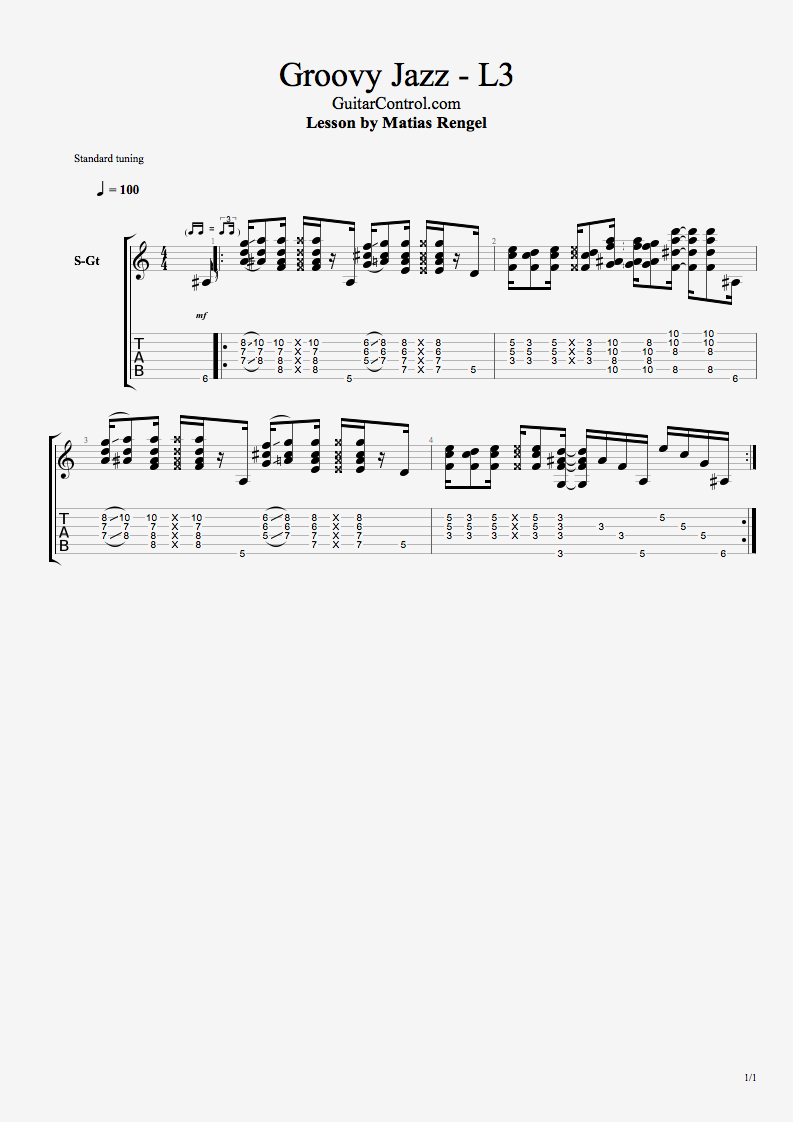 [/contentwall]
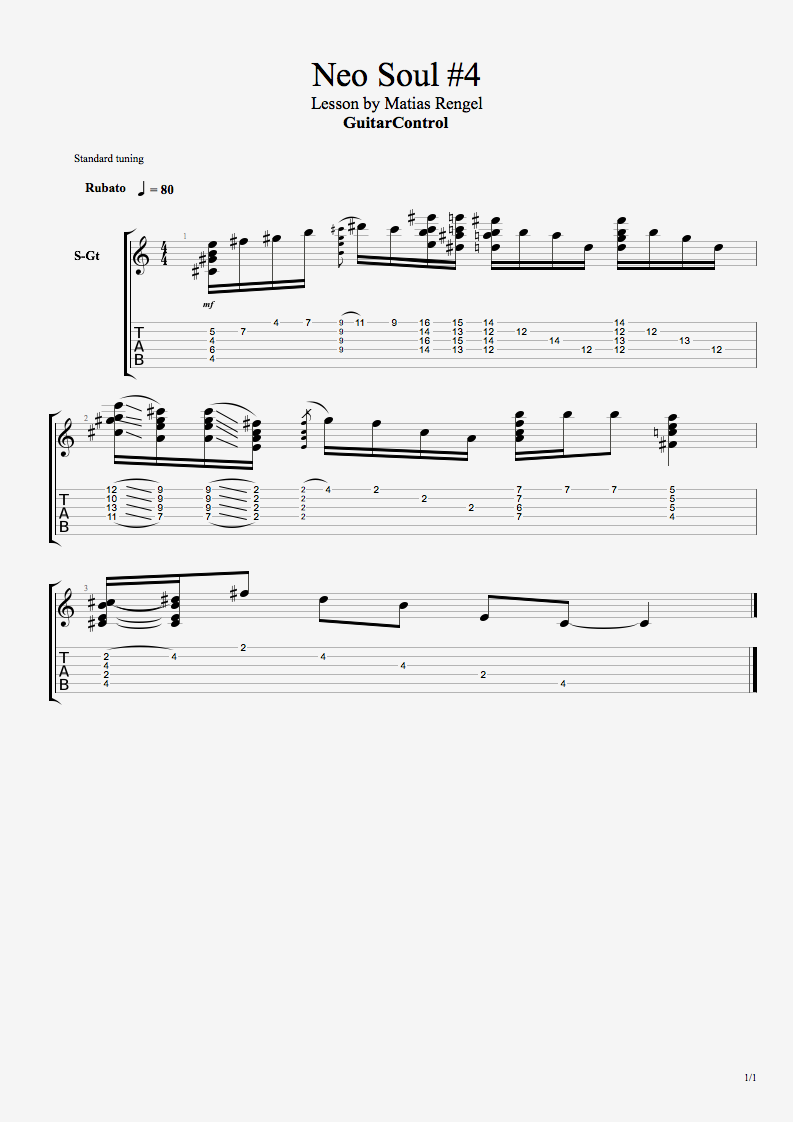
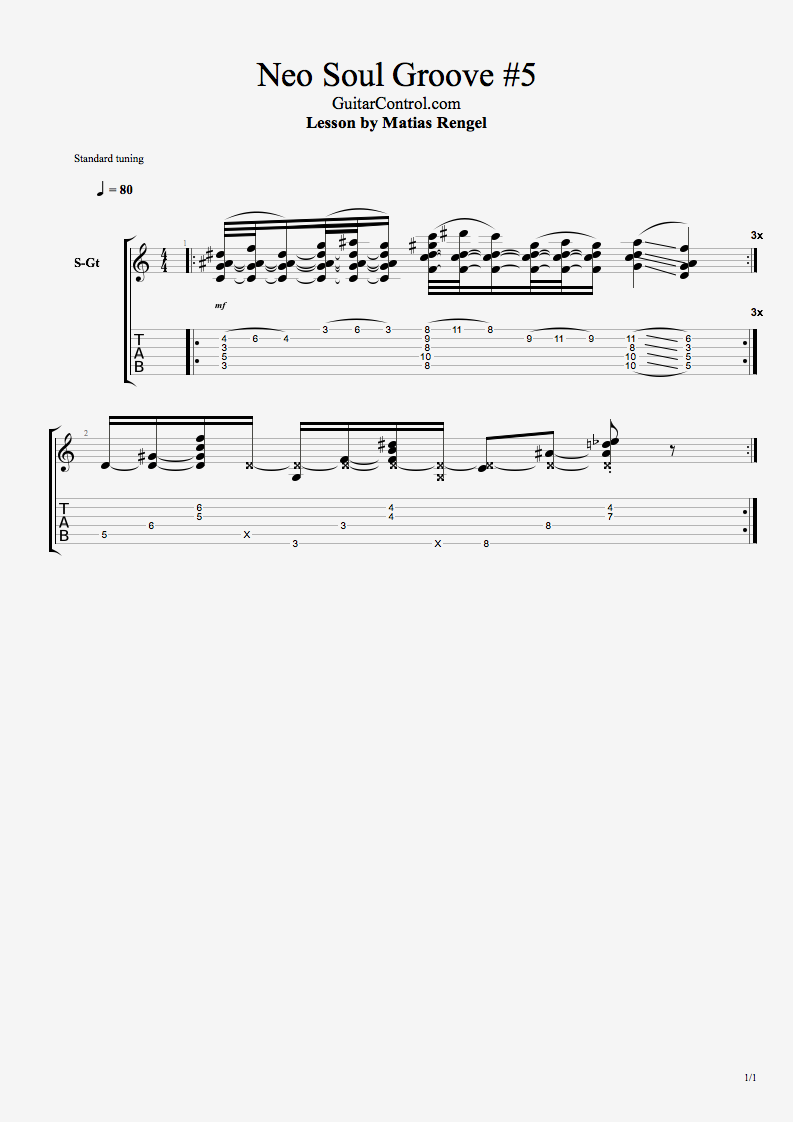
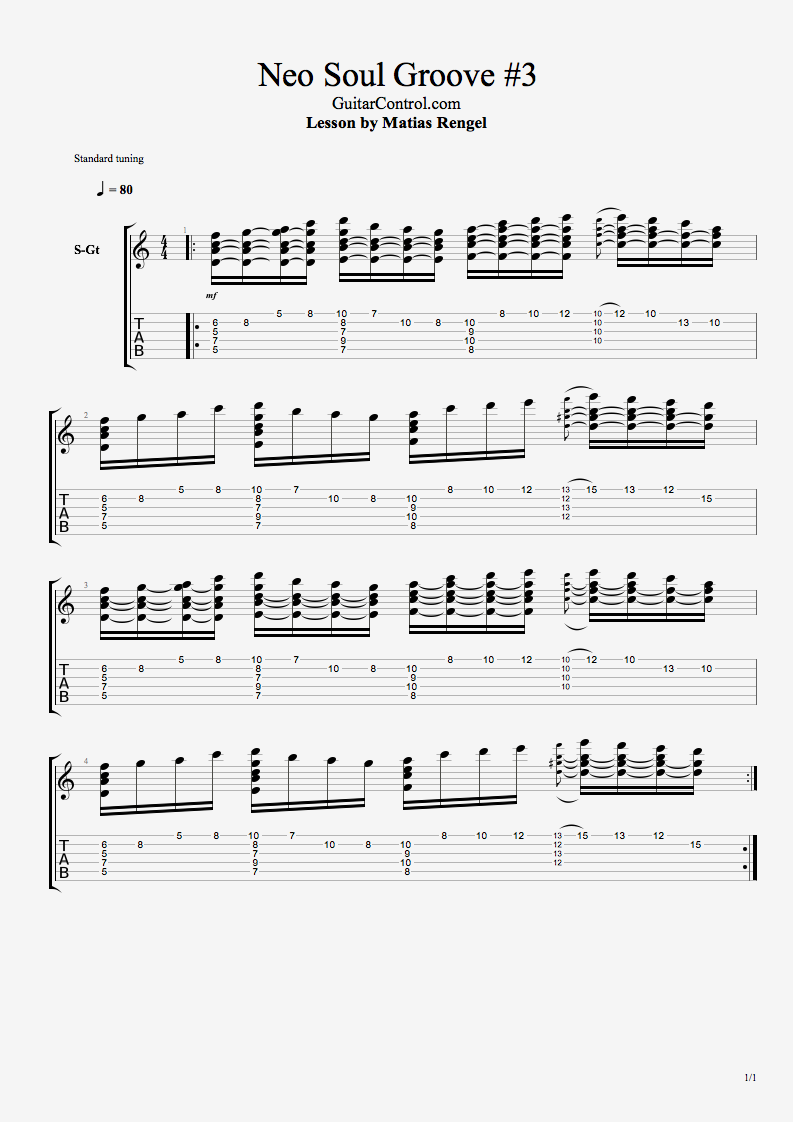
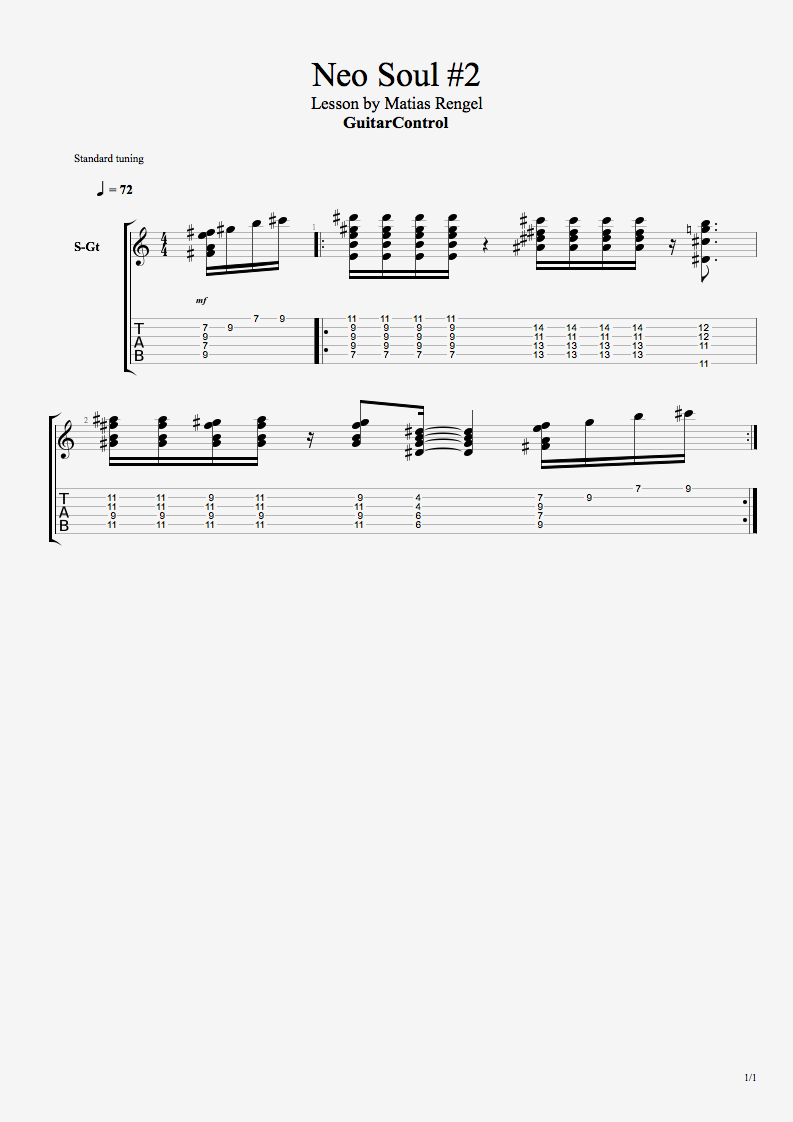
Click on the Tabs button to follow the chords and tabs.
So the first thing that I would like to show you is the chords and then we’re going to go into the actual rhythm of this, we have many things happening here most of them are on the same chord but different inversions the first one we start with our index finger on the 6th fret of the 6th string then we don’t play the 5th were palm muting it and the middle finger is going to be on the 7t fret as well as the ring finger 7th fret of the 4th and 3rd then we got the pinky on the front of the 2nd then we got an inversion of this chord because that will just play in B flat major 6, then we got inversion in front of your 7.
So for that we’re going to take this two right here and we’re going to move them one fret up and change the string so they’re going to be on the 6th and 5th fret on the 5th and 4th and then the pinky is going to go on the 10th fret of the 2nd string and the index on the 7th fret of the 3rd then we’re going to go into this one for some A7 you could say is an a7 sharp 5 or a 7 alter to play entirely you also got other to it but did you say isn’t a 7 altered or an alt and we’re going to place the index finger on the 5th fret of the 6 don’t play the 5th once again then middle finger on the 5th fret of the fourth ring finger on the 6th fret of the 3rd and pinky and 6 further of a second and then go to an inversion of an A7 which is this. For that we have our middle finger on the 7th fret of the 5th ring finger on the 7th fret of the 4th we have the index finger on the 6th fret of the 3rd and pinky on the 8th for the second.
We’re going to go into this one for this one we have our index I like to put the index all across the 3rd and bring the middle finger on the 5th fret of the 5th ranked finger on the 5th fret of the 3rd and pinky on the 5th fret of the s2nd then we bring the same thing chord don’t remove any of the fingers just bring it up so your middle finger is on the 10th fret and the index fingers on the 8th now what you you’re going to do is remove these fingers and just basically put your ring and pinky on the 10th fret of the 2nd and 1st and we’re not going to play the force you could but don’t play it in this case and we’re going to press with the index finger also the 3rd.
Now this is a little bit challenging even for me but I’d like to introduce new things every time I do these lessons and I try to learn very well but at the same time I try to play stuff that is like very normal to me so every time you get something new so if you see me that sometimes it’s a little bit challenging even for me is because I literally made it specifically for research for this lesson, I put a lot of effort into its own and by the way you should also try to not try sometimes you find yourself like playing stuff all the time and it’s very important to challenge yourself from play things that you wouldn’t normally play.
Now we’re going to learn the rhythm, so what we’re going to do is we play with our thumb the 6 and then with our index middle and ring open for turn 2nd you’re going to slide out the pinky so you slide it up to the 10 and then you practice that and then do the same thing here so now you can have a little thing there that you can practice you can just like loop that until you get the group rights to the same remember slide Simon all the fingers bring down hand and then play now here we’re going to go into this one obviously there’s no slide here why do I play the core I seem to hear but this time here’s the pinky choose the chord, now the 2nd time that I play this around it is a quarter now for a little bit of a relief right so for that you’re going to have your index on the 3rd fret in fact you don’t even need this one here you just have the index there, you do is play there the six and the second at the same time up against the 4th we wear two threads up into the 5th.
Now it’s really cool if you give it like a little bit of a shuffle that’s going to make it like moving, like you’re walking. I hope you’ve enjoyed this lesson it’s a little bit challenging but it’s super interesting, it sounds really cool so anyway as you saw there’s the link in description make sure you click on the tab so you can learn what I just showed you and remember to subscribe to our You Tube Channel for daily inter lessons there are so many teachers and so many styles and levels so hit the subscribe button and I would love to know what would you like me to teach you next so leave a comment down below with your answers thank you so much for watching.
[ninja-popup ID=715]