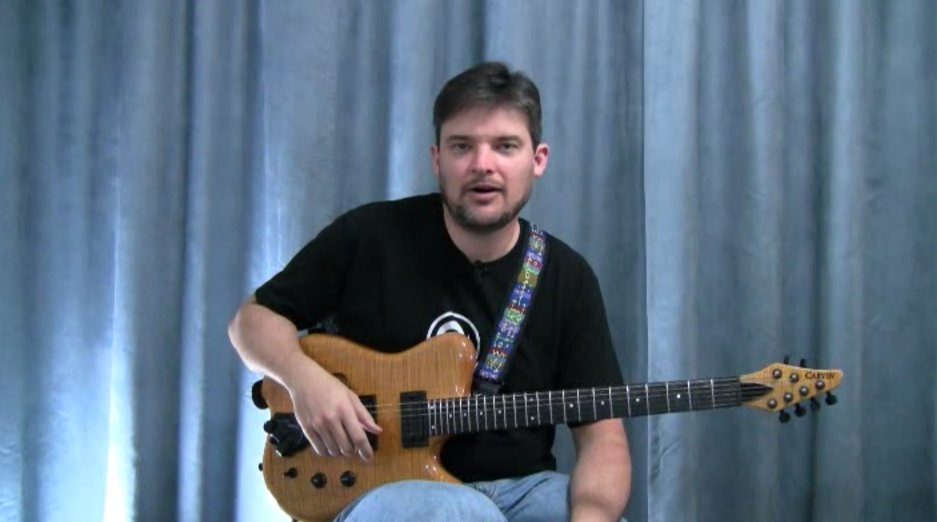
Here’s another lesson from Mike Miz… Please stay tuned because next week I’ll announce the release date of the course.
Don’t forget , everything will be tabbed out for even easier learning, when you buy the DVD.
So it just goes — just trying to make an example of how many other things that you could kind of delve into that are a little bit outside the box that are really going to spice-up your soloing. So let’s take a look at that riff really slow.
What I like to do is kind of slide into it. You’ll see a lot of slides in bluegrass, a lot of slides, a lot of hammer-on and a lot of pull-offs. And I kind of want to play this really nice and slow so you guys can get a good grasp on what’s going on here.
I’m going to take my ring finger here and slide up to this E. That’s kind of the start of it. That’s going to be the beginning of the run. So slide up to the E note, there’s the dominant 7th, then we’re going to pull off and then we’re going to run chromatically.
Whenever you hear me use the word chromatic, I’m just going to mean in half steps. So we’re going to descend chromatically, which means we’re going to go down in half steps. So that’s the beginning of the riff.
Now, this, what I’m going to do next, is another really common bluegrass trick. Once you get a grasp on it, it’s a blast to do in all different settings, different keys, doesn’t matter.
It’s something I’ve actually just kind of individualized and practiced, what I’m doing is I have my ring finger on the C note there and my first finger on the D and I’m going to use this note, my middle finger, to pull off.
That’s all I’m doing. Just to take it real nice and slow, then you can kind of practice. It’s just kind of like a Tony Rice sort of thing. Starting again, from the beginning of the riff. That’s that little… So there we go. Let’s keep heading on here with this.
So we’ve got the slide into the E and then once we touch on that C note, I’m going to hit those two notes again. So not moving. You could say that’s the whole first half of the riff. Then, we have… That’s the second half of the riff, we could say is…
There are many different ways to play this. If you kind of take a note here and take a note there and expand on it or simplify it to whatever the case may be, it’s really good to get your own grasp on this stuff and to start developing your own sound.
We have our ring finger here and we’re going to pull from the C off to the A.
We’re going to C, pull off to A, touch on this G and then we’re going to let
that G ring out to an E. And then, to finish it off, here’s, like I said, the minor 3rd. What we’re going to do it pull off in that minor 3rd. So in the key of A, this minor 3rd is actually going to be a C note. The last time. I’ll play it real slow.
Once again, that’s just kind of an example riff to kind of play with, to kind of make your own, to change things. I encourage you just to try all kinds of different things and start finding your own sound.
Lastly, in this particular capo position, another thing that I like to talk about is using chromatic. This has kind of been a little trick of mine that a friend of mine actually showed me. That is, it’s funny sometimes how the simplest things will wow the crowd.
I play music for a living. I play out a lot. And sometimes I’ll be doing a really intense, technical thing and it won’t really get a response, but I’ll do something as easy as a chromatic run,\ right up the neck, and the whole place will cheer. It’s just funny how these things work. So I’ll kind of show you this little trick.
